Step-by-Step Guide: How to Properly Apply PTFE Self Adhesive Tape
PTFE Self Adhesive Tape is an incredibly versatile tool used in various applications, from sealing and heat-sealing to vacuum and blister packing. Its non-stick surface and resistance to high temperatures make it a preferred choice in many industries. To ensure optimal performance, it’s crucial to apply PTFE adhesive tape correctly.
Here’s a step-by-step guide to help you do just that.
Step 1: Preparing the Surface
The first step is to prepare the surface where the tape will be applied. This involves thoroughly cleaning the area to remove any contaminants like oil, grease, or dirt. A clean cloth and a suitable solvent can be used for this purpose. A clean surface ensures better adhesion of the tape.
Step 2: Measuring and Cutting
Next, measure the length of the surface you need to cover. Cut the PTFE adhesive tape to match this length. Accurate measurement is key to ensure that the tape covers the entire area without any excess.
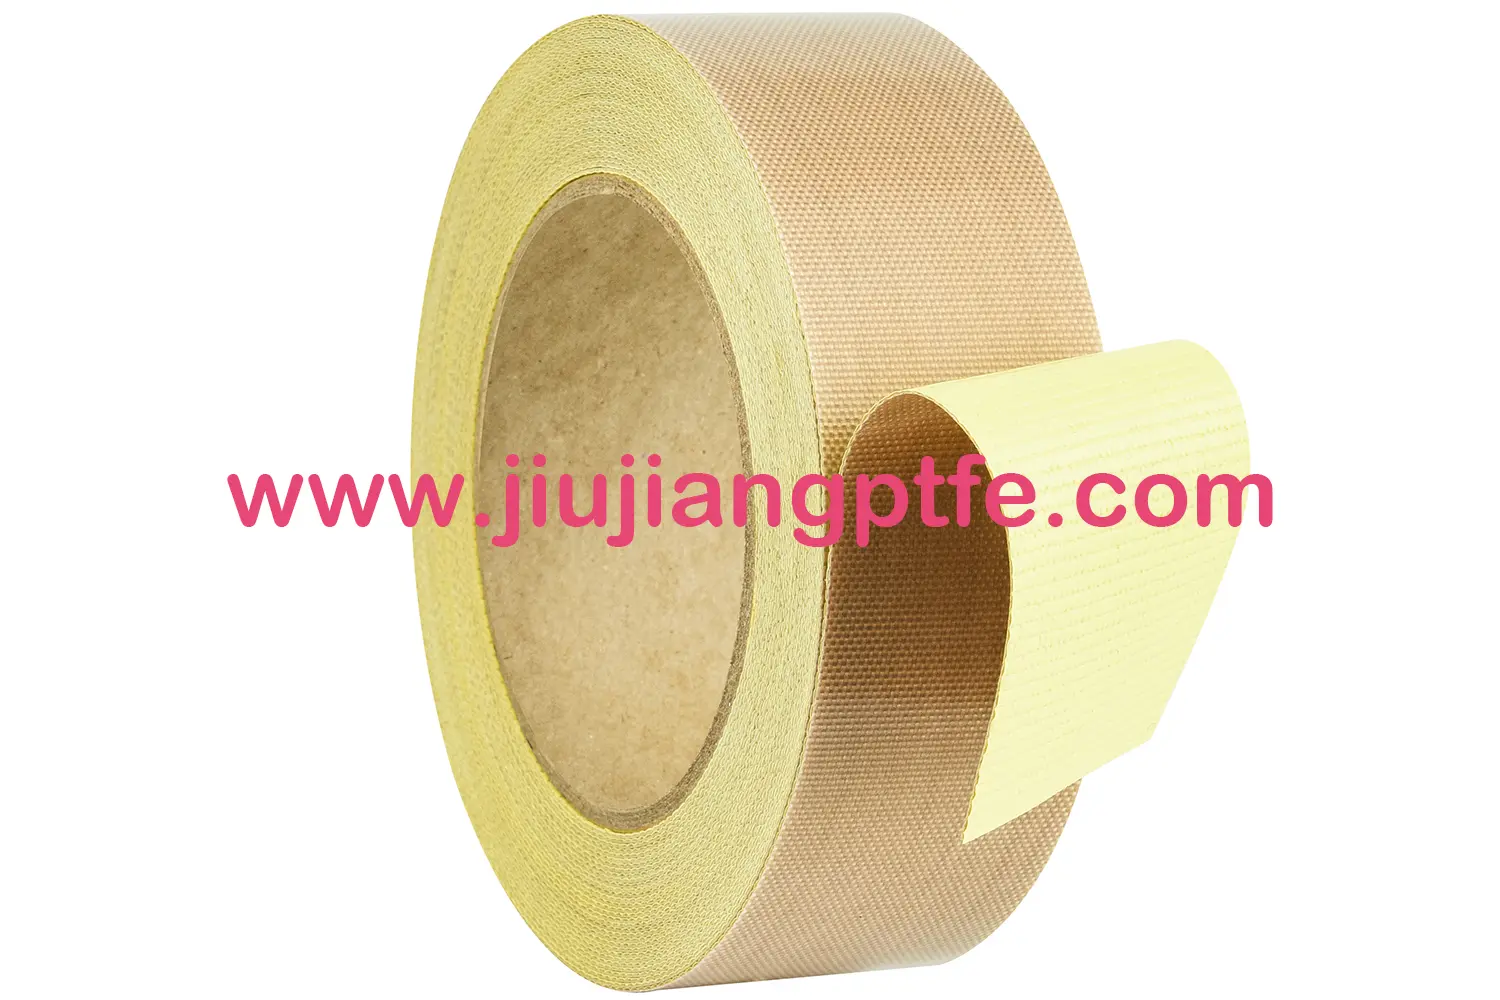
Step 3: Removing the Liner
PTFE Self Adhesive Tape comes with a yellow corrugated release liner that protects the adhesive side. Carefully remove this liner to expose the sticky side of the tape.
Step 4: Applying the Tape
Now, gently apply the tape to the prepared surface. It’s important to align the tape correctly and ensure it covers the intended area completely. Apply gentle pressure to secure the tape in place.
Step 5: Smoothing Out Imperfections
Once the tape is in place, use a roller or a flat, smooth tool to eliminate any air bubbles or wrinkles. This step is crucial for ensuring a smooth, even application of the tape.
By following these steps, you can apply PTFE Self Adhesive Tape like a professional, ensuring maximum effectiveness and longevity of the application. Remember, the key to a successful application lies in careful preparation and precise execution.