How to Change the Belt of a Band Sealer: A Step-by-Step Guide
Band sealers are essential for many industries that require airtight packaging. Over time, the belt of a band sealer may wear out and require replacement. Changing the belt of a band sealer can be a simple process with the right tools and instructions. In this article, we will provide you with a step-by-step guide on how to change the belt of a band sealer, with a focus on using PTFE heat seal tape for optimal sealing performance.
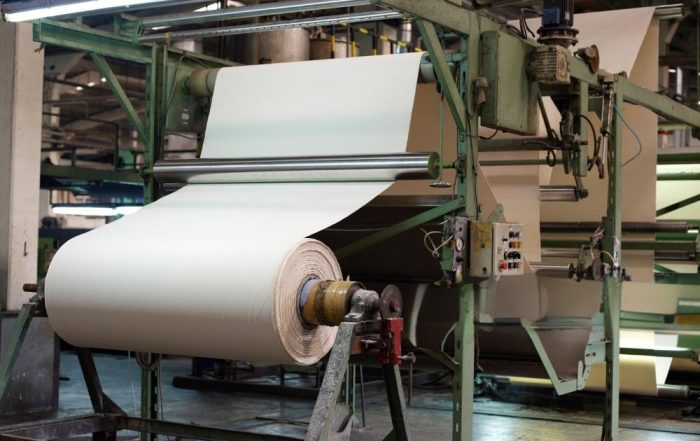
Section 1: Understanding Band Sealers and Their Belts
- Overview of band sealers and their components
- Importance of the belt for airtight sealing
- Types of belts used in band sealers
Section 2: Preparing for Belt Replacement
- Gather the necessary tools and materials
- Turn off and unplug the band sealer
- Disassemble the band sealer and remove the old belt
- Clean the band sealer components thoroughly
Section 3: Installing the New Belt
- Choose the appropriate size and material for the new belt
- Place the new belt onto the band sealer components
- Adjust the tension of the new belt
- Reassemble the band sealer and test the new belt
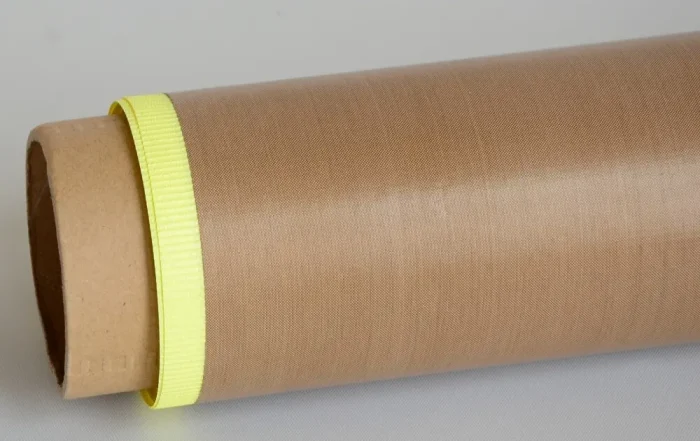
Section 4: Using PTFE Heat Seal Tape for Optimal Sealing Performance
- Benefits of using PTFE heat seal tape for band sealers
- How to apply PTFE heat seal tape to the new belt
- Tips for maximizing the performance of PTFE heat seal tape
Changing the belt of a band sealer can be a simple process with the right knowledge and tools. By using PTFE heat seal tape for optimal sealing performance, you can ensure airtight and reliable packaging for your products. Follow our step-by-step guide to change the belt of your band sealer and achieve optimal sealing results.